
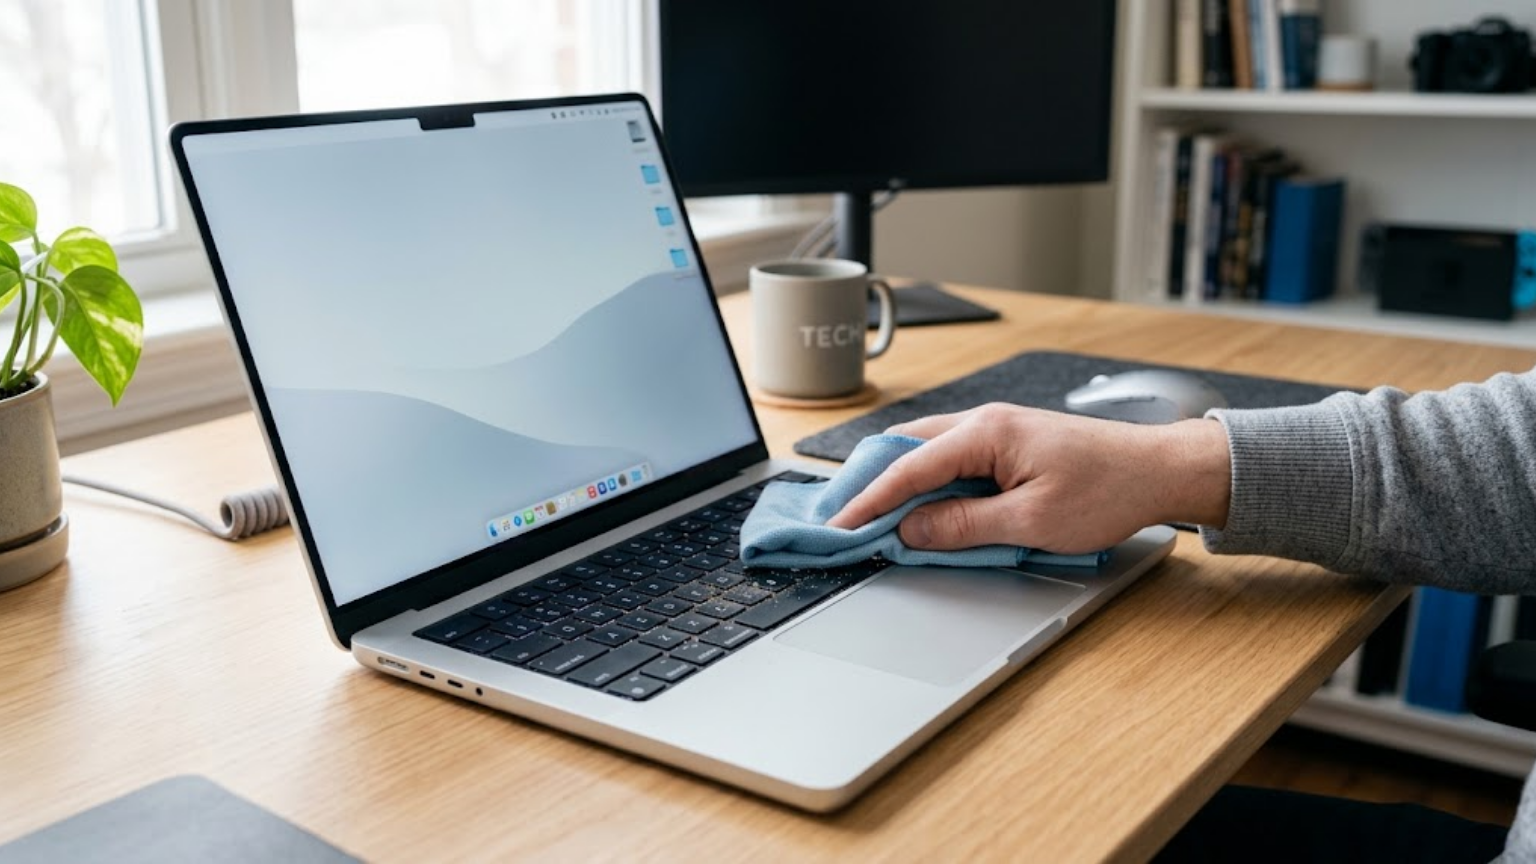
Your laptop keyboard collects dust, crumbs, fingerprints, and skin oils every day. If you eat while using your computer, small pieces of food can also slip between the keys.
Most everyday dirt is easy to remove. You usually don’t need to take the keyboard apart or remove the keycaps. A microfiber cloth, compressed air, and a few cotton swabs can handle most cleaning jobs.
If you want to know how to clean laptop keyboard surfaces safely, start with the simplest method. Turn off the laptop, remove loose debris, and wipe the keys carefully. Use a cleaning solution only when dry cleaning isn’t enough, and always follow your laptop manufacturer’s instructions.
What You Need
You don’t need an expensive cleaning kit. For routine cleaning, you can use:
- A microfiber or lint-free cloth
- Compressed air
- A soft brush
- Cotton swabs
- A cleaning solution approved for your laptop
A dry microfiber cloth is often enough for dust and fingerprints. For stubborn marks, some manufacturers recommend specific cleaning solutions. Their recommendations aren’t always the same, so check the support information for your exact laptop model before using alcohol or another cleaner.
Choose the Right Method for the Problem
Not every dirty keyboard needs the same treatment.
Problem Best starting method
Surface dust Microfiber cloth
Loose crumbs Gentle tilting and compressed air
Dust between keys Compressed air or a soft brush
Fingerprints and oil Microfiber cloth
Sticky residue Cotton swab with an approved cleaner
A sticky key Clean around the key first
Liquid spill Stop using the laptop and follow the manufacturer’s spill guidance.
Starting with the least aggressive method helps you avoid unnecessary moisture or pressure.
1. Turn Off and Unplug the Laptop
Before cleaning, shut down the laptop completely. Unplug the charger and disconnect any other cables or accessories.
This keeps you from accidentally pressing keys while cleaning. It also follows the basic cleaning guidance provided by manufacturers such as Dell and HP.
Place the laptop on a clean, stable surface. Make sure you have enough room to tilt it slightly when removing loose debris.
2. Remove Crumbs and Loose Dirt
Start with dry debris.
Tilt the laptop gently so loose crumbs can fall away from the keyboard. Don’t shake the computer hard. A few gentle movements are enough for particles that are already loose.
Next, use compressed air to remove dust from between the keys. Keep the can upright and use short bursts. Move across the keyboard instead of holding the spray in one place.
HP recommends using compressed air to clear debris from between keys and advises keeping the can upright.
If you have a MacBook, follow Apple’s instructions for your specific model. Apple’s current guidance for supported MacBook models includes holding the laptop at about a 75-degree angle, keeping the nozzle about 13 mm from the keyboard, and moving the spray from left to right. Apple also says not to invert the can while spraying.
Don’t assume those exact instructions apply to every laptop. When the manufacturer provides different instructions for your model, follow those instead.
3. Clean Between the Keys
Compressed air may leave some dirt behind, especially around the edges of the keycaps.
A soft, clean brush can help loosen these particles. Use light pressure and work your way around the keys.
For small areas, a dry cotton swab can also pick up dust and debris. You don’t need to push it deep into the gaps.
Avoid using pins, knives, screwdrivers, or other sharp objects. They can scratch the keyboard or damage small parts underneath the keys.
If a piece of dirt doesn’t come out easily, don’t force it. Several gentle passes are better than using enough pressure to damage a key.
4. Wipe the Key Surfaces
After removing loose debris, wipe the tops of the keys with a clean microfiber or lint-free cloth.
For ordinary dust and fingerprints, start with a dry cloth. If the keys have oily marks or sticky residue, you may need a lightly dampened cloth with a cleaning product approved for your laptop.
The cloth should be damp, not wet.
Microsoft recommends a lint-free cloth or cotton swab that is lightly dampened and warns against letting liquid drip into the keyboard.
Dell also advises applying cleaning liquid to the cloth rather than spraying it directly onto the device.
This is one of the most important rules when learning how to clean laptop keyboard surfaces: put the cleaner on the cloth, not directly on the computer.
Wipe gently across the keys. Pay extra attention to frequently used areas such as the Space bar, Enter key, Backspace key, and letter keys.
5. How to Clean Sticky Laptop Keys
A sticky key needs more attention than ordinary dust.
First, turn off the laptop and remove loose debris around the affected key. Use compressed air or a soft brush before applying any cleaning solution.
If residue remains, a cotton swab lightly moistened with an approved cleaning product can help clean around the edges. Dell recommends a cotton swab with isopropyl alcohol for certain sticky residue while warning users to keep liquid away from internal components.
Don’t pour or spray cleaner onto the key.
After cleaning, let the area dry before testing the key. If it still sticks, don’t keep pressing or prying at it. The problem may involve the mechanism underneath the key rather than surface dirt.
Check your laptop manufacturer’s instructions before attempting to remove the keycap.
6. Can You Use Isopropyl Alcohol?
Some manufacturers recommend isopropyl alcohol for certain cleaning jobs, but there is no single concentration that applies to every laptop.
For example, HP’s current laptop guidance lists isopropyl alcohol at 70% or higher. Microsoft gives different guidance for its mice and keyboards and recommends an IPA solution of 70% or less.
These differences are why you should check the instructions for your exact device.
If alcohol is approved for your laptop, put a small amount on a cloth or cotton swab. Never spray it directly onto the keyboard. Keep moisture away from openings between the keys.
If you’re unsure which product to use, a dry microfiber cloth is a safer starting point for ordinary dust and fingerprints.
7. What If You Don’t Have Compressed Air?
You can still clean a laptop keyboard without compressed air.
A soft brush can loosen dust around the keys. Microsoft also lists gentle vacuuming with a dusting brush as an alternative for its keyboards. HP also discusses using a soft brush or suitable vacuum attachment for removing dust.
If you use a vacuum, use a soft brush attachment and avoid pressing the nozzle directly against the keys.
For a small amount of surface dirt, a microfiber cloth may be all you need. There’s no reason to use a stronger cleaning method when a simple one will do the job.
8. Should You Remove the Laptop Keys?
For routine cleaning, don’t start by pulling off the keycaps.
Laptop keyboards use different key mechanisms, and some can be damaged if a key is removed incorrectly. Dell warns that laptop keycaps can sit on fragile mechanisms and recommends cleaning around them rather than removing them for normal cleaning.
Some laptops have model-specific procedures for removing individual keys. That’s why you should check the manufacturer’s instructions before trying it.
If you’re unsure how to clean laptop keyboard keys underneath, leave the keycaps in place and clean around them. Forcing a key off can create a problem that wasn’t there before.
See Also: Technology Meme: Funny Tech Memes You Can Actually Relate To
9. What to Do After a Liquid Spill
A liquid spill is different from ordinary keyboard cleaning.
If you spill water, coffee, soda, or another drink, stop using the laptop and disconnect the power source. Don’t continue typing to see whether the keyboard still works.
Blot visible liquid carefully with a clean cloth. Then check the manufacturer’s instructions for dealing with liquid exposure.
If a significant amount of liquid entered the laptop, consider professional service if the computer develops problems. Don’t try to flush the keyboard with more liquid.
A spill can also leave residue after the visible moisture disappears. If keys become unresponsive or the laptop starts behaving differently afterward, surface cleaning may not solve the problem.
10. What Not to Do
A few cleaning mistakes can cause more trouble than the dirt itself.
Avoid these:
- Don’t spray cleaner directly onto the keyboard.
- Don’t pour water or alcohol onto the keys.
- Don’t use sharp objects to scrape out dirt.
- Don’t force keycaps off without checking your laptop model.
- Don’t use excessive moisture.
- Don’t use a workshop air compressor unless your manufacturer specifically recommends that method.
- Don’t turn the laptop on while the keyboard is still wet.
Manufacturer instructions vary, so your laptop’s support documentation should take priority over general cleaning advice. Dell, HP, Microsoft, and Apple all provide device-specific guidance.
How Often Should You Clean a Laptop Keyboard?
No fixed schedule works for every laptop.
If you use your computer every day, wipe the keyboard whenever you notice fingerprints, dust, or visible grime. Clean between the keys when debris starts building up.
You may need to clean more often if you eat near the laptop or use it in a dusty environment.
A quick surface clean is usually enough for regular maintenance. Save deeper cleaning for times when dirt has actually collected around the keys.
When Should You Get Professional Help?
Routine dirt is usually something you can handle yourself. Some problems need more than surface cleaning.
Consider getting professional help if:
- Several keys stop working.
- A key remains stuck after careful cleaning.
- Liquid has entered the laptop.
- A keycap or its mechanism is physically damaged.
- The keyboard develops problems after a spill.
Apple’s current guidance recommends service when keys remain unresponsive after following its cleaning procedure.
If your laptop is still under warranty, check the manufacturer’s support information before opening the device or attempting a repair.
Conclusion
Knowing how to clean laptop keyboard surfaces safely doesn’t require an expensive kit. Start by turning off and unplugging the laptop. Remove loose crumbs and dust before wiping the keys with a clean microfiber cloth.
Use compressed air carefully and follow the instructions for your particular laptop. If you need a cleaning solution, check the manufacturer’s recommendations first and apply the product to a cloth or cotton swab instead of spraying the keyboard.
For normal cleaning, there’s usually no reason to remove the keycaps. If a key remains stuck, several keys stop working, or a liquid spill reaches inside the laptop, stop cleaning and check the manufacturer’s repair or service guidance.
FAQs
1. Can I clean my laptop keyboard with water?
Don’t spray or pour water onto the keyboard. Some manufacturers allow a lightly dampened cloth, but their instructions differ. Microsoft, for example, recommends a lint-free cloth or cotton swab lightly dampened with mild soap and water for its keyboards.
2. Is compressed air safe for a laptop keyboard?
Compressed air is commonly recommended for removing dust and crumbs. Use short bursts and keep the can upright. Follow the instructions for your specific laptop because the recommended technique can vary between models. Apple provides specific compressed-air instructions for supported MacBook models.
3. Can I use rubbing alcohol on laptop keys?
Some manufacturers recommend isopropyl alcohol, but the recommended concentration and cleaning method can differ. Check your laptop manufacturer’s instructions before using it, and apply a small amount to a cloth or cotton swab rather than spraying the keyboard.
4. How do I clean sticky keys without removing them?
Turn off the laptop and remove loose debris around the affected key. Then gently clean around it with an appropriate cleaning product on a cotton swab. If the key remains stuck, check the manufacturer’s instructions instead of forcing the keycap off.
5. Should I remove laptop keys to clean underneath them?
Not for routine cleaning. Laptop key mechanisms vary by model, and some can be damaged during removal. Check the manufacturer’s instructions before removing any keycap.
About the Author





1 thought on “How to Clean a Laptop Keyboard Safely”